How Our Inspection Process Promises Quality Precision Machining
Leave a Comment
In the precision machining world, there’s little room for error. Whether manufacturing a lens housing for an optics customer or a plastic piston ring, we’re committed to delivering quality at all times.
Peerless Precision’s rigorous inspection process—run by an experienced team using top-tier equipment—ensures customers always get what they ask for.
To achieve truly peerless results, our inspection starts when we receive a purchase order and ends when parts leave our shop. As an AS9100 machine shop, we maintain AS9100 quality standards, whether or not parts require it.
Because to us, quality isn’t just a buzzword. It’s a promise.
Our 6 Stages of Inspection for Precision Machining
We implement six inspection checkpoints to guarantee part quality. It’s not enough for parts to meet the minimum requirements—we’re determined to exceed customer expectations.
Here are the six stages of our inspection process:
1. Purchase order review
We thoroughly inspect each PO to ensure all customer needs will be met and parts are designed for efficient manufacturing. Our engineering, quality, and production department leads sign off on POs before production begins.
2. Material certifications
Our inspection department reviews raw material certifications to ensure the grade, composition, and relevant specifications match the customer’s request. We call the material supplier to request a replacement if we receive raw material that doesn’t meet all the criteria.
3. First part approval
We check the first part we’re precision machining after each operation to ensure measurements align with the design specifications. If the measurements match, the operator continues manufacturing parts. If not, we repeat the process until we get the measurements correct. Machines are calibrated yearly on a rotating basis to ensure tools remain accurate.
4. In-progress checks
As parts run through machines, operators measure the most recent machined parts to ensure correct measurements. Machines can quickly go out of tolerance, and by checking consistently throughout the order, we can catch errors before a whole order is compromised.
5. Specialized treatment evaluation
Our inspection team measures parts before and after sending them to a third-party vendor for a specialized process like heat treating or plating. We also check treatment certifications to verify the processed parts meet customer specifications.
6. First article inspection report
We inspect 100% of the parts made for first-time part orders to provide a first article report. Customers receive an in-depth report containing the dimensions of every part in the order, which they check against the received parts. When customers repeat part orders, we only inspect a sample of the final parts. The customer dictates the sample amount.
The Inspection Tools of an AS9100 Machine Shop
One of our shop specialties is achieving minuscule tolerances ranging from 0.0001” to 0.000005.” But with such small measurements, there’s hardly any room for error. A variance of even 0.005” can cause parts with tight tolerances to fail.
That’s why we rigorously inspect part tolerances using our wide range of tools, from standard gauge blocks to cylindricity measuring machines. We regularly invest in the newest technology to better serve our customers.
Here are some of our state-of-the-art inspection tools:
- Air gauging equipment for inspecting inner diameters
- Laser micrometers for performing precise measurements up to six decimal places
- Keyence instant measurement systems to speed up the inspection of priority parts by generating 99 measurement points in 3.5 seconds
- Cylindricity measurement machines to verify precise part roundness
Regular equipment calibration
At Peerless Precision, we calibrate our tools every year to maintain their accuracy. We schedule calibrations on a rotating basis to ensure we can still complete orders in a timely manner.
Quality People Are the Key to Success in Precision Machining
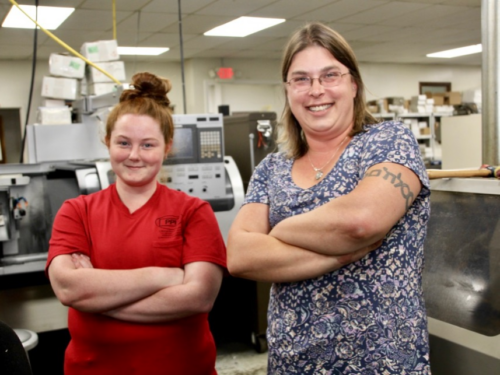
Behind our advanced, finely calibrated machines is a team of experts. We hired dedicated, seasoned inspectors to ensure we live up to the name “Peerless Precision.”
Our quality manager has over four decades of experience in quality assurance for manufacturing, and our lead inspector brings 30 years of experience. The rest of our team benefits from the guidance of these two industry experts.
Delivering quality parts to quality people
Our in-depth inspection process goes above and beyond to provide exceptional parts to customers. Combined with our dedicated team and state-of-the-art equipment, we do more than manufacture—we perfect.
Requesta quote today.


